Btw, I think I'm addicted to reading cookie blogs. Pinterest and cookie blogs.
I like to cookie a lot and since my family is pretty much sick of sugar cookies by now (they haven't said anything to me, but I can infer) I keep having to invent new reasons to justify making cookies and decorating them. "Hey mom and dad, you now have two dozen cookies just because I wanted to try out this new piping technique. Surprise!" doesn't sit too well. But it's getting to be a bit of an obsession. If I go more than two weeks without making cookies it feels weird. Thankfully there are enough events and holidays (first volleyball game of the season anyone?) that I can make cookies pretty often.
So since I make so many cookies and post the designs ad nauseum I figured I should show the process of how I make the cookies and not just the finished product!
First, make any cookie dough you want. I make the cookie dough from the blog Bake at 350. I had a blind taste test between our traditional cookie dough, the cookie dough I used during college, and this cookie dough this past Christmas with the family and the Bake at 350 cookie dough won! It also stands up pretty well to baking and shipping. This is what works for me, but you can use your favorite recipe for cookie dough.

Take the dough and plop it down on a lightly floured surface. The dough that I use doesn't use softened butter, instead it takes cold butter, cut into cubes, and mixes it with the sugar. This means that you don't have to refrigerate your cookie dough before you roll it out. It saves A LOT of time. It's awesome.
I also like to take a piece of freezer paper and tape it to the counter and roll my cookie dough out on that. You don't have to do this if you don't want to, I just like being able to untape the paper and put the whole mess into the trash can instead of having to scrub the counter for ages after rolling out the dough.

This is the rolling pin I use. I got it for Christmas and it's really nice because the plastic disk on the side keeps the entire dough the same thickness. I use the 1/4" thickness. I've heard that people do it thicker at 3/8" but that is a thick cookie! Who knows, I might switch to a 3/8" thick cookie in the future but for now I make a 1/4" thick cookie.
Having the cookies all one thickness and never having to guess at how thick to roll the dough makes sure that all the cookies bake at the same rate.

When the dough is all rolled out and the cookie shapes are cut out, arrange the cookies on a silpat. This lovely invention makes sure that the bottoms of the cookies never burn and that the cookies never stick to the pan. And it's pretty inexpensive, just $25. If you make a lot of sugar cookies I really suggest it. Chocolate chip cookies don't work as well on it, they spread out. So if you like flat chocolate ship cookies this will also work for you (but we like our chocolate chip cookies mounded. Personal preference and all that).
Isn't it funny how something as simple as cookies can have so many different "right" ways of being made?

Ok, here are the cookies arranged on the cookie sheet. You don't need them to be spaced very far apart because . . . .
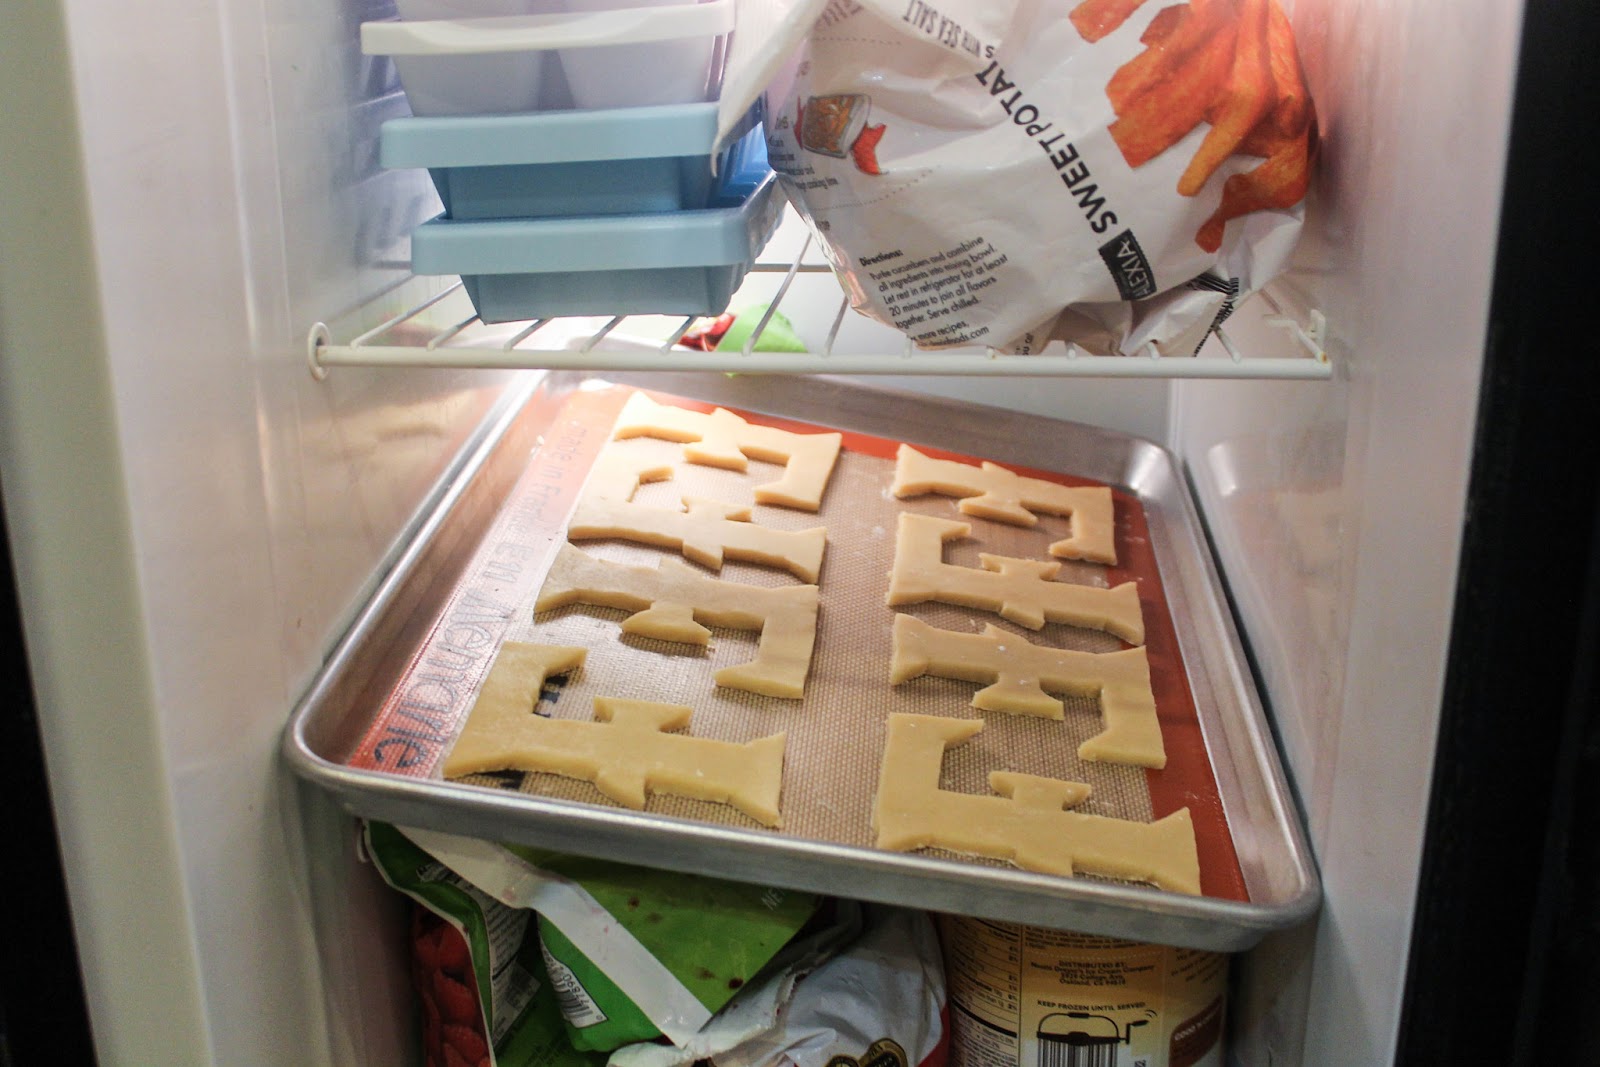
You freeze them before you bake them! Seriously. Put the cookies in the freezer for at least five minutes before you cook them. This will ensure that the cookies keep their shape. Ever had those Christmases where the snowman migrated into the santa and morphed into a reindeer? Yeah, that's because the cookies weren't frozen beforehand. Trust me on this, it will change your life and save you a lot of tears!
Bake them for 10-12 minutes. I know that at 12 minutes the cookies will be perfect, but that's for my oven and all ovens are different, so finding the exact time will take some trial and error.
Five minutes is the minimum, but I normally freeze them for 10-12 minutes. I work on two cookie sheets so while one sheet is in the oven, I have the other cookie sheet in the freezer (and it takes 12 minutes to bake a pan of cookies, hence the 12 minute freezing time lol).

See? Pretty cookies, no spreadage (making up words again). You can take them off the pan to cook on a cookie rack, but leave them on the pan to cook down a bit and firm up first. There is nothing worse than lifting a freshly baked cookie off the cookie sheet and having it break in half because it hadn't hardened enough. Leaving them on the sheet won't harm them at all.

Ah, the most important (and yummiest) part of the cookie baking process . . . tasting! Now before you go poo-pooing taste testing as just an excuse to eat a cookie (which is partly is), it's also important if you're giving cookies to other people to eat, like your office or your friends. Case in point: I use salted butter to make the cookie dough. It's pretty much the only thing I ever use salted butter for, so I ran out one day and didn't want to go to the store just to get salted butter when I had butter in the fridge and salt in the cabinet. So made the dough as normal and I just added a teaspoon of salt to the butter in the beginning. BIG mistake! I later learned that each stick of butter only has 1/8th of a teaspoon of salt in it, so by adding 1 teaspoon of salt I had added four times the salt needed to the dough! Those cookies were for my mom's birthday so it's a good thing I tasted them before I had decorated them and sent them out the door.
Moral of the story (or blog post), taste your finished cookies, freeze you cookies before baking, and use cold butter to make the dough. Voila! You will have perfect cookies every time :)
Frosting how-to coming soon . . .
No comments:
Post a Comment