So here is the recipe I was trying to share before all this craziness ensued, healthy pumpkin pie. That's literally what the recipe is called, Healthy Pumpkin Pie.

This recipe is out of the Libby's Pumpkin book. Remember years and years ago, before the internet, when recipes were written on notecards, found in cookbooks, and found in little recipe books like this one? Ah the good old days.
Funny thing is that this is the only pumpkin pie we've ever made so I don't know if "unhealthy" pumpkin pie would taste any better. All I know is that it tastes good, is really easy to put together, and doesn't make that many dishes, which is always important when you're baking all day and getting every bowl in the house dirty.
So here it is:
Ingredients you will need are
1 can of pumpkin (NOT pumpkin pie filling, just pumpkin. I use Libby's)
12 ounces fat free evaporated milk (less than a regular can)
2 egg whites
1/2 tsp salt
3/4 tsp cinnamon
1/8 tsp cloves
1/4 tsp ginger
2/3 cup sugar
and pie dough for a 9" pie pan (I made mine ahead)

Side note, DO NOT forget the sugar! Last year I forgot the sugar. I know, I'm hanging my head in shame still. It was the first year in I think ever that we ever had family over for Thanksgiving (we live too far away) and I messed up the pie. Thankfully we had two other pies so all was not lost. Still, bad memories.
Anyway, first separate the egg whites. They don't look like much of anything do they? Kind of just a yellowish sheen. Note to self, egg whites don't photograph well.

Next beat the egg whites. No need to break out the mixer or a whisk, just use a fork and beat the egg whites till there are bubbles.

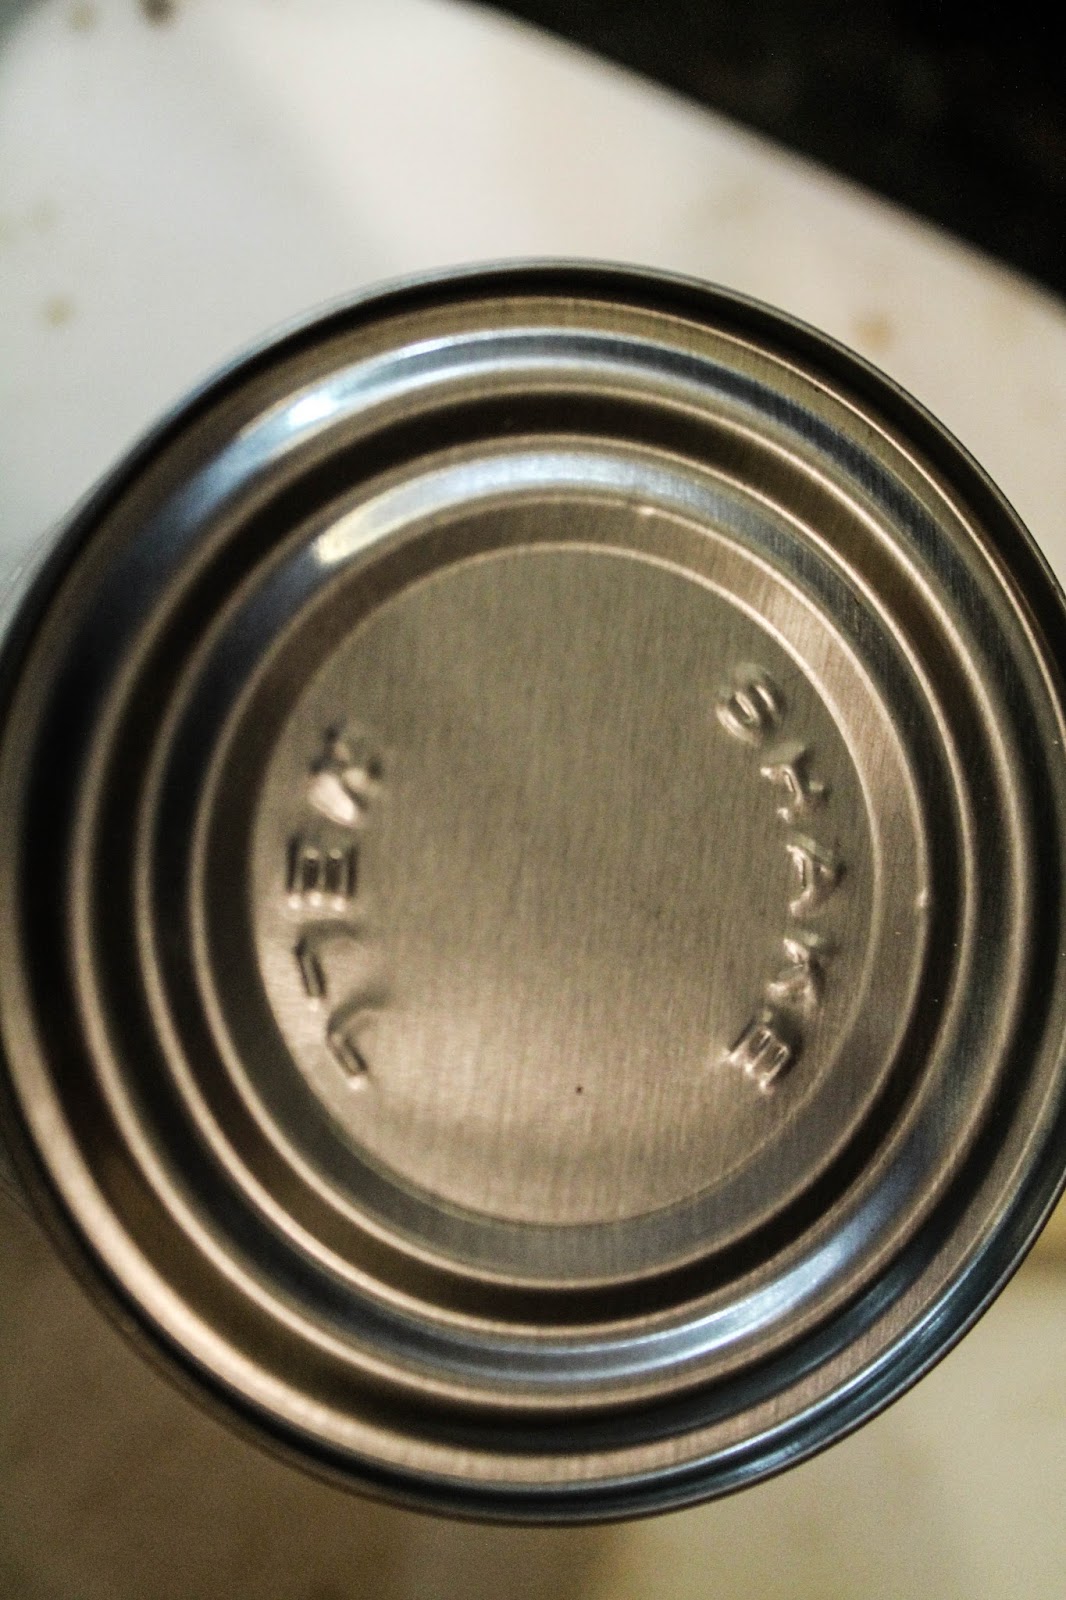
Now open the can of pumpkin.

Scoop out the orange yumminess. You can make your own pureed pumpkin but I didn't. Libby's pumpkin is pretty good.

Plop.

Now open the fat free evaporated skim milk. But first do as the can tells you.
Shake well.

NOW you can open the can.

Then DO NOT pour in the whole can, only pour in 12 ounces. I almost got carried away and poured the whole can in but saved myself from that disaster. Whew.

Add the salt,

And the cinnamon,

And the ginger,

And the cloves.

Now add the sugar!
I took a picture of myself adding the sugar,

And I took a picture of the bowl after I added the sugar. Just to prove to myself that I had indeed added the sugar this year!

Now just mix all the ingredients together. Simple as that. Put all the ingredients in one bowl and mix together. Easy peasy. You're welcome.

Before you roll out the pie crust you have to clean off the counter (groan).

Before I poured the filling in the crust I decided to add vanilla.Vanilla makes everything better. Ssssh don't tell.

Vanilla? What vanilla? You didn't see anything .


Ta da.

I don't measure the exact diameter, I just roll out a circle and place the pie pan on top of it to see if the circle is big enough. And it is. I'm awesome.

I would like to take this time to address the misconception that getting a pie crust from the counter to the pie dish is difficult. It's not and I'll show you how I do it.
First fold the circle in half.

Then fold it in half again.

Now move the folded crust into the pie pan. Since it's folded it's easier to pick up and it won't rip. Also the point creates a perfect way to place the pie crust exactly in the center of the pan. No guessing and dropping.

Now just unfold. First one way.

Then the next way. If the crust does while unfolding just squish is back together. There is enough butter in the crust to stick together no matter what so no worries.

Now trim the excess dough (try not to eat all the extra dough, trust me the results will leave you hating your jeans) and crimp the edges. I would also like to ask you to please not make fun of my crimped edges. They are not spectacular. It's not like there was a class on crust crimping in college, and if there was I wouldn't have had time to take it. So there.

Just pour the filling into the crust. I'm using a pie pan that is too big for the amount of filling I have. We have another pie pan but it is too small so the way I think of it is if I use the bigger pie pan I get more crust. When I put it that way there is no debate, too big pie pan it is.

I like my crust to be baked but to still be very pale so I wrap the entire pan in foil making sure to leave the filling uncovered.
Bake at 425 for 15 minutes. Then reduce the heat to 350 and bake for 45-50 minutes or until a toothpick stuck into the center comes out clean.
(see why I wrapped the edges with foil? The pie bakes for over an hour!)

Finally lift the pie out of the pie pan and place on the awesome cake pedestal you have because you got this adorable little turkey decoration for the cake pedestal and you wanted to serve the pumpkin pie on a festive platter. Nevermind that pie served on a cake pedestal is a little weird.

Happy Holidays from my turkey to yours!

No comments:
Post a Comment